Orca Slicer PLA Settings for Perfect Prints (Beginner Guide)
Orca Slicer is an excellent tool for slicing and it gives you complete control over 3D print settings. Along with many features PLA (Polylactic Acid) filament is also very useful. PLA’s correct settings help you minimize print errors and increase the slicing quality.
The key settings in PLA such as nozzle temperature, retraction, print speed, bed temperature, and cooling make it easy to use and user-friendly.
Learning how to fine-tune Orca Slicer PLA settings ensures a smooth surface, strong prints, and fewer issues. Let’s understand the ideal Orca Slicer PLA settings to optimize your prints for the best results.
What is PLA in Orca Slicer?
PLA is one of the most commonly used plastics in the world of 3D printing. Think of it as the special material that a 3D printer melts and shapes into one-of-a-kind items, such as toys, keychains, or highly detailed models. Created from plant materials such as corn, PLA is a more eco-friendly plastic compared to others.
Orca Slicer is sophisticated software designed to teach the 3D printer how to print using PLA. It manages critical variables such as temperature, speed, and cooling so that the output is both smooth and durable. If the settings in Orca Slicer are well adjusted, the print is great; however, if they are not, the result can be messy or, at worst, completely failed.
Orca Slicer PLA Settings (Easy Guide for Perfect Prints)
1. Nozzle Temperature
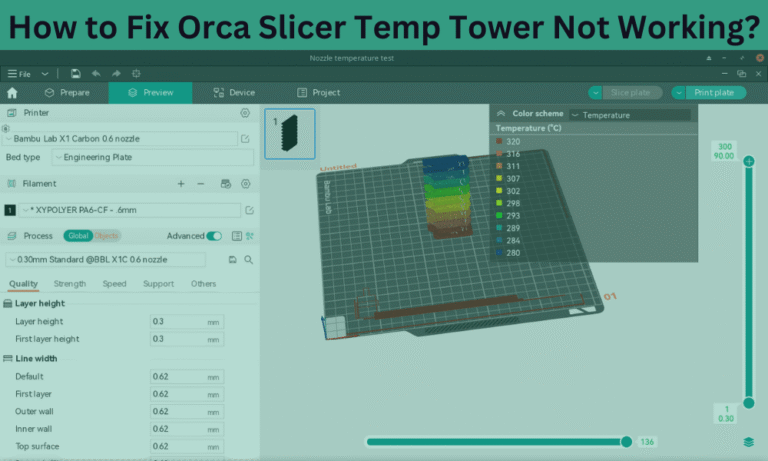
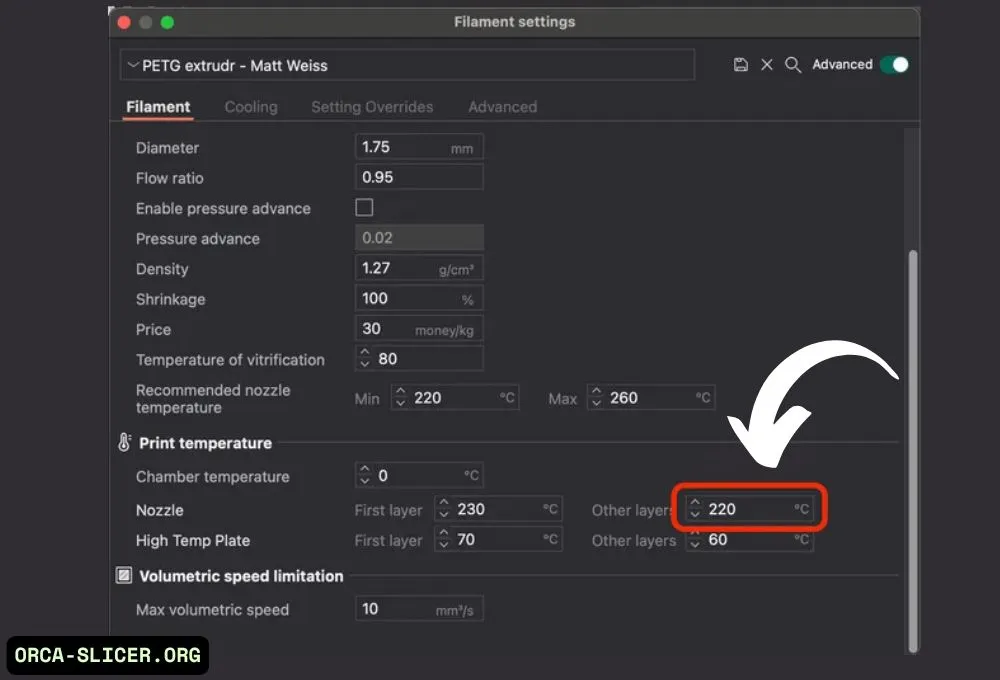
One of the most important settings is the nozzle temperature. This is the heat used to melt the PLA filament so the printer can lay it down layer by layer. For PLA, the ideal range is between 190°C and 220°C, with a good starting point being 200°C. If the nozzle is too cold, the PLA might not stick well or come out at all. If it’s too hot, it can create stringy or messy prints. It’s always a good idea to test a few temperatures to see what works best with your brand of PLA.
Read Also: How to Change Nozzle Size in Orca Slicer (A Step-by-Step Guide)
2. Bed Temperature
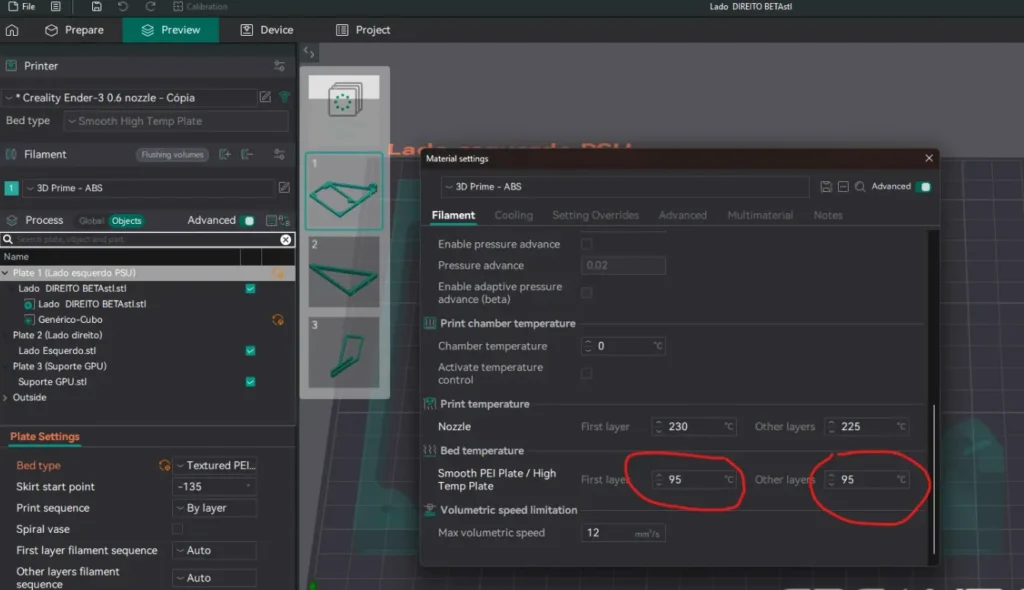
Next, we have the bed temperature, which makes the first layer stick to the print bed. This is important because a successful first layer sets the quality of the print. While PLA may be printed on a cold bed, a warm bed from 50°C to 60°C improves adhesion and prevents edges from warping up (a type of flaw called warping).
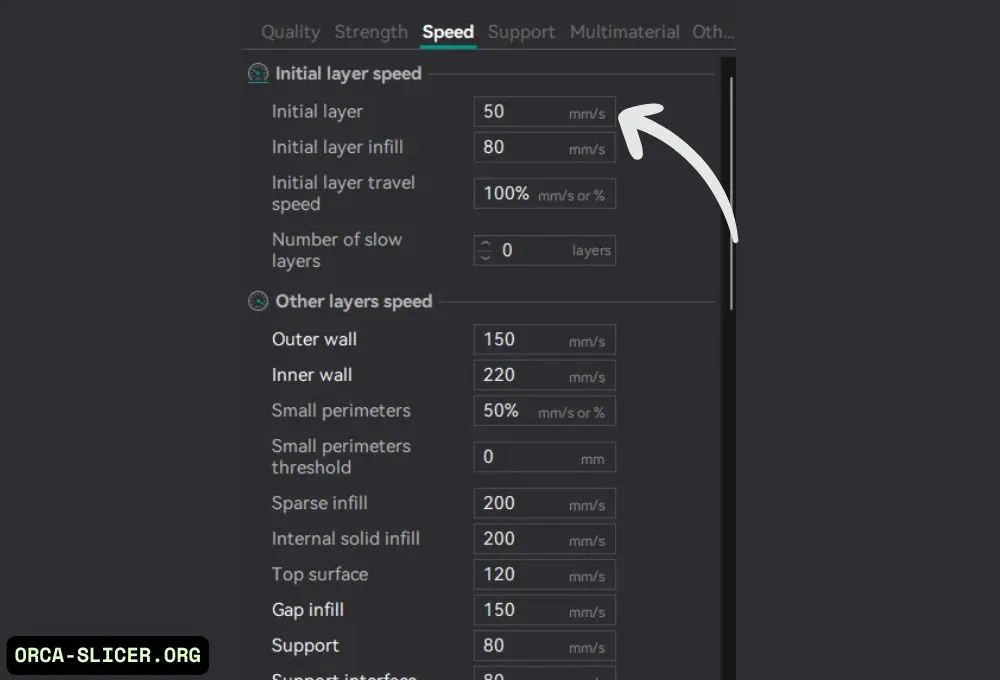
3. Print Speed
Print speed is also important. PLA prints optimally between 40 mm/s and 60 mm/s. Average speeds, such as 50 mm/s, provide better results with less error. If you try to print too quickly you can risk warped layers, lost detail, or even a failed print. A consistent, middle-of-the-road speed works best for consistent results, particularly when printing intricate items or small features.
4. Cooling Speed

Cooling is particularly necessary for the PLA. Once it’s laid down, it needs to cool quickly to stay in shape. Hence, the cooling fan speed should be set at 100% after the initial layers. Allow the initial two or three layers to print without excessive fan so that they adhere suitably to the bed. Then, full cooling assists in minimizing warping, enhances bridges and maintains edges sharp and crisp.
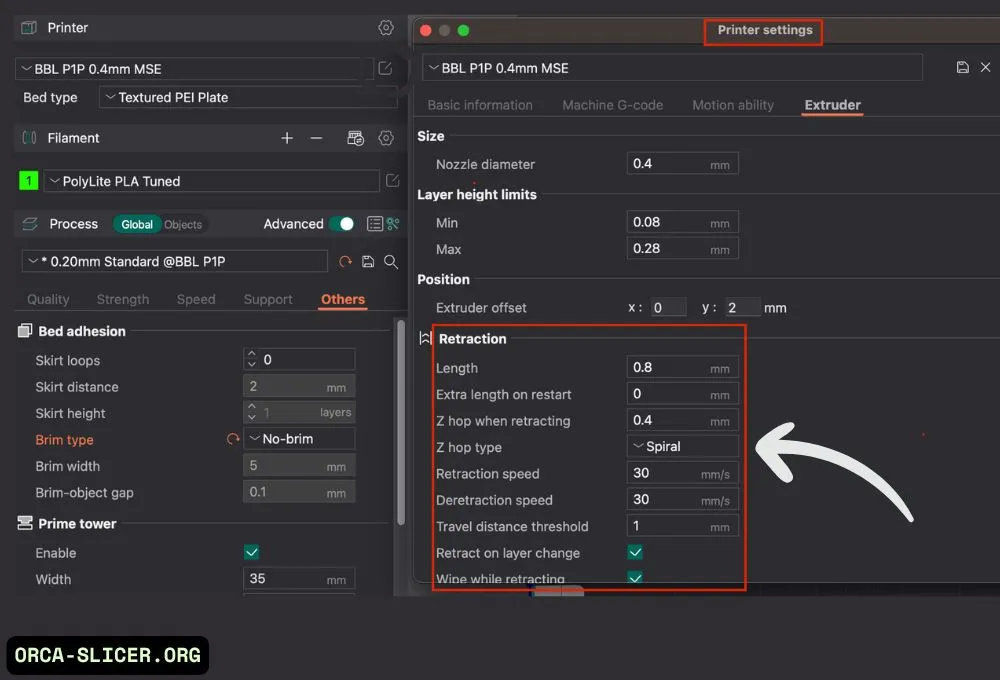
5. Retraction Settings
Retraction settings define how the filament is retracted when the printer travels between points. They prevent stringing those faint and webby strands that can destroy the surface result. For a direct drive extruder, try a retraction of 1 to 2 mm at some 35 to 45 mm/s. For Bowden extruders, which have a longer distance between the motor and the nozzle, you’ll need more retraction — around 4 to 6 mm at 40 to 50 mm/s. Proper retraction settings help reduce blobs and strings, making your print look much cleaner.
6. Layer Height
Another important setting is the layer height, which controls how thick each layer of your print is. A typical layer height of 0.2 mm is a good trade-off between quality and speed. For finer prints, use 0.1 mm, providing smoother surfaces but more time. If you are printing something urgently and do not require fine details, you can set the layer height to 0.3 mm for faster results.
Watch this Youtube Video for Better Understanding Click on this Youtube Icon
Final Tips
PLA is easy to print, but small changes in settings can make a big difference. Always level your bed before printing, clean your nozzle regularly, and store your filament in a dry, sealed container. If you’re unsure about the settings, start with a default PLA profile in Orca Slicer and tweak one setting at a time until your print looks perfect.