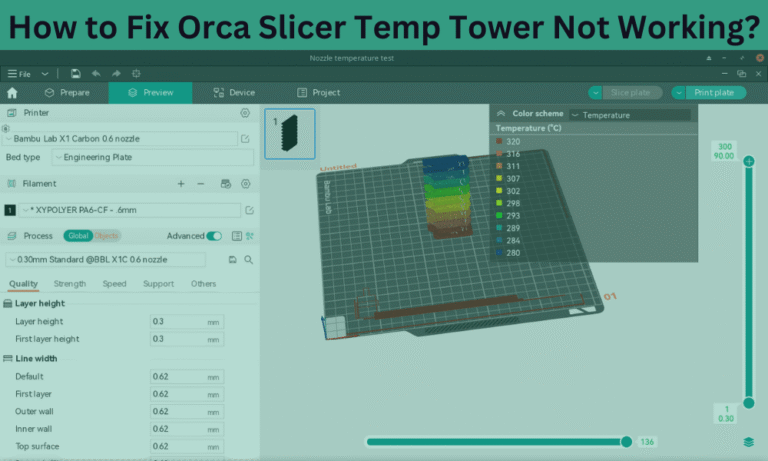
How to Change Nozzle Size in Orca Slicer (A Step-by-Step Guide)
For every Orca Slicer user, there comes a time when you need to change your nozzle size. There can be many reasons to change nozzle size, such as switching to a smaller nozzle for finer details or a larger size to speed up prints.
Whatever the reason, this easy guide will help you how to change nozzle size in Orca slicer, tweak its print settings, and ensure you get the best settings you want.
What are the Different Nozzle Sizes?
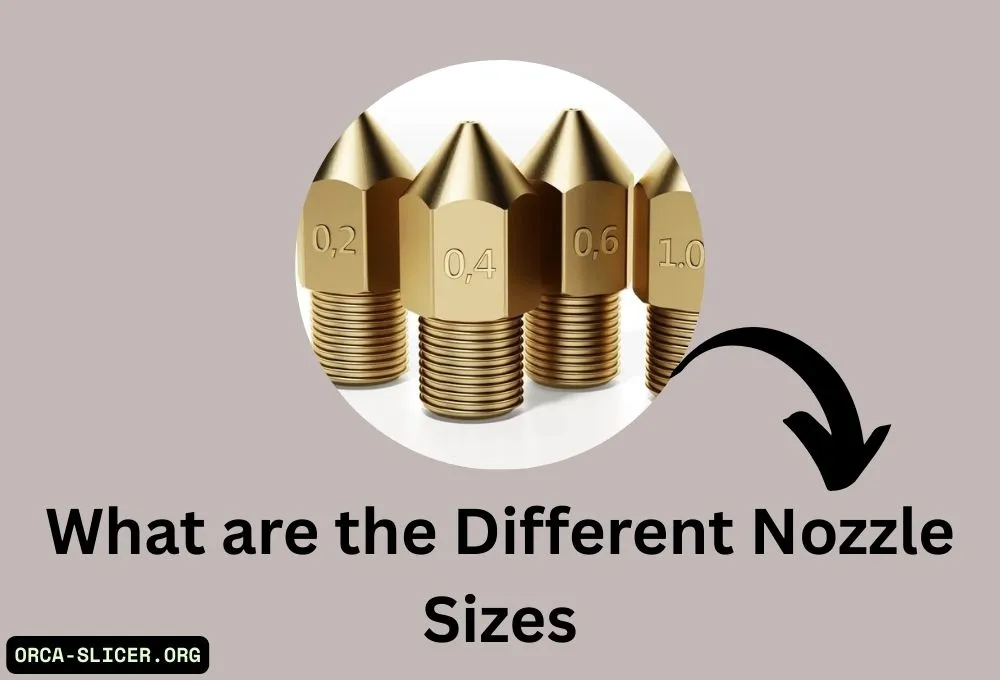
There are different types of nozzle sizes in 3D printers and each size has its significant purpose.
0.2mm nozzle
You can use this size for ultra-fine details but it gives slower prints.
0.4mm nozzle
Most 3D printers have this size by default and this is considered as a balanced choice for quality and speed.
0.6mm nozzle
This size is useful for printing faster with slightly less detail.
0.8mm nozzle (or larger)
If you want to get fast prints this size setting is best however you may have to sacrifice fine detail.
Whatever size you choose will directly affect your print speed, strength, and resolution, so pick the right size according to your project’s importance.
Read Also: Orca Slicer Not Working? (Complete Guide)
How to Change Nozzle Size in Orca Slicer
Now that you understand the importance of nozzle sizes, let’s go through the step-by-step process of changing it in Orca Slicer.
Open Orca Slicer on your computer and go to Printer Profile.
Now, go to Printer Settings in the slicer and click on Nozzle Diameter.
Select the correct nozzle size between the options and click Save to apply changes.
After setting the nozzle size, adjust the print settings.
Set your project layer height between 25-50% of the nozzle size. For example, for 0.4mm nozzle size, you should select 0.1mm to 0.2mm layer height.
Now adjust the print speed and flow rate. The large nozzle size works on less speed to prevent under-extrusion but needs a high flow rate.
If you prefer smaller nozzles, reduce the retraction distance to avoid clogs. However, for larger nozzles, increase retraction slightly to prevent stringing.
Once you have done your nozzle and print settings save them as a custom profile in Orca Slicer. The best way to keep it visible is to name it based on the nozzle size such as 0.8mm Fast Print.
If you need a video tutorial, I suggest watching this YouTube video it can be helpful.
Click on this Youtube Icon
How to Test Your New Nozzle Size
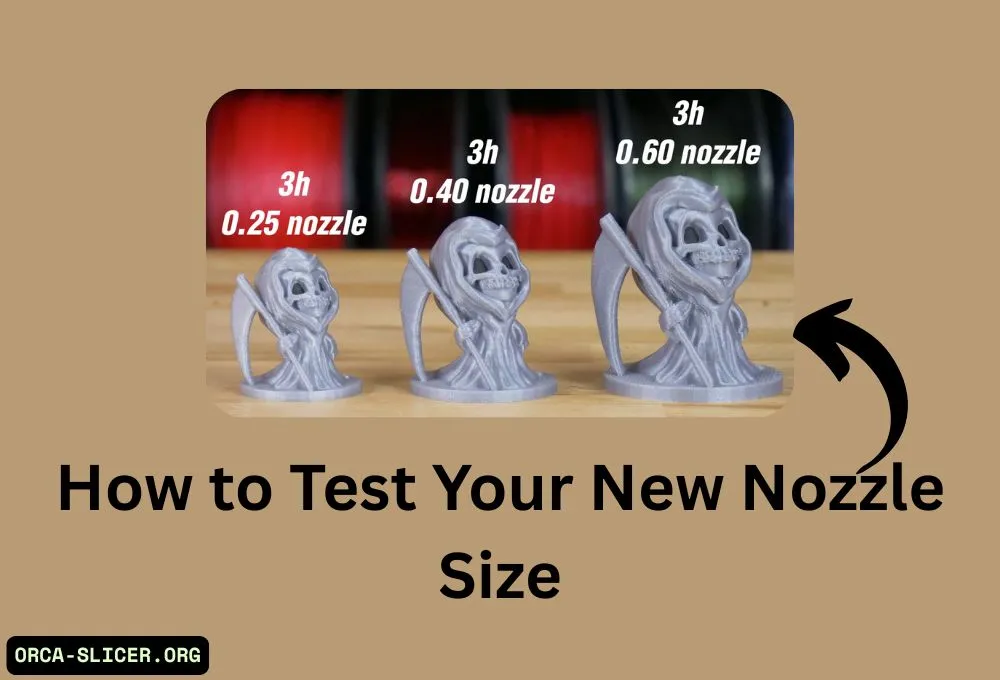
After changing your nozzle settings, always do a test print to make sure everything works smoothly. Conduct test prints such as calibration cubes, overhangs, and extrusions to validate performance.
Be cautious of under-extrusion (modify flow rate or increase time/slow down the print speed), stringing (set retraction), or first-layer issues (re-level the bed and Z adjust the offset).
When replacing the nozzle physically, bring the temperature to a minimum of 200C, use the correct wrenches to unscrew the old nozzle, lightly screw the new one on, then do a bed level and go back to the Z-zero position. Use hardened steel nozzles for abrasive filaments to avoid wear.
Lastly, conduct one last test print to check for all adjustments and check for optimal performance without changes to quality consistency.
Read Also: How to Set Bed Temperature in Orca Slicer
Conclusion
Changing the nozzle size in Orca Slicer is a straightforward process. With this easy-to-follow guide, you can change the nozzle size at any time and save it as a custom profile for easy use.
After changing the nozzle size make sure you update other settings such as the nozzle diameter, adjust the print setting, and run a test print for best results. Try to work with different nozzle sizes to know what printing size is best for your projects.